Easy Tables for Confluence
How to make nice tables ?
With easy tables for Confluence, import your data from excel or csv, and the app will build your table automatically. You can add colors and styles from a simple wizard.
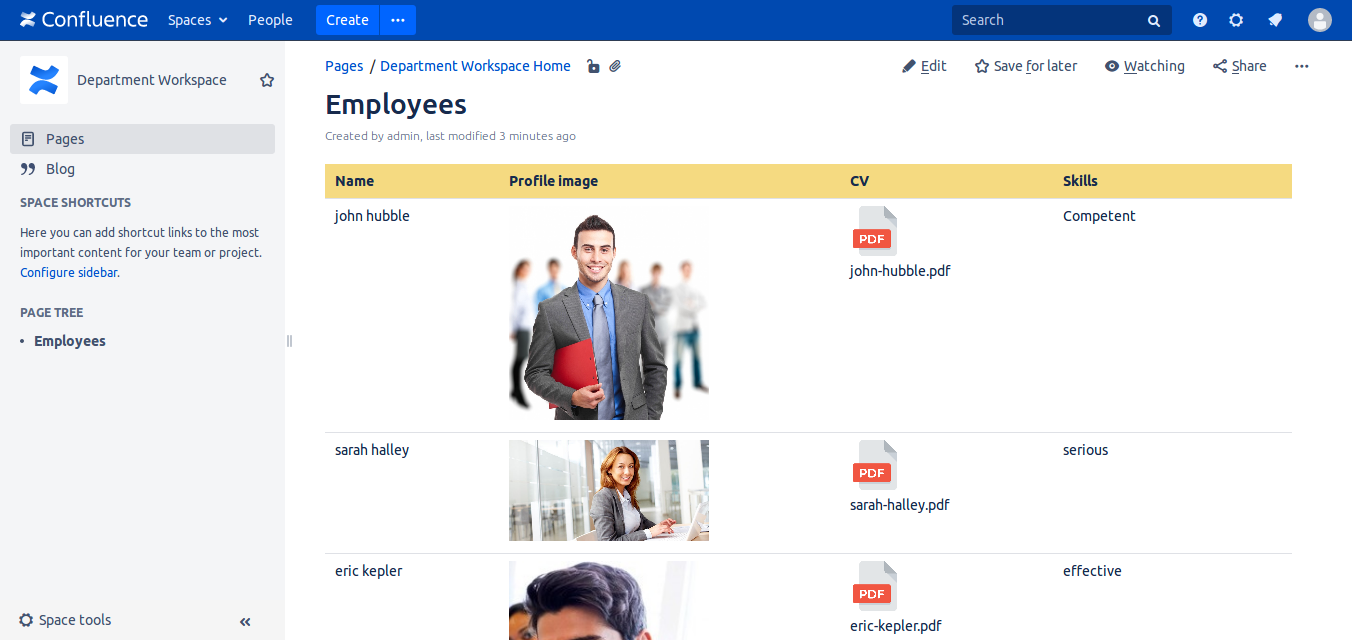
And have images and file links easily
More details down in this page

Add the macro
Type {easy, and select sc easy table.
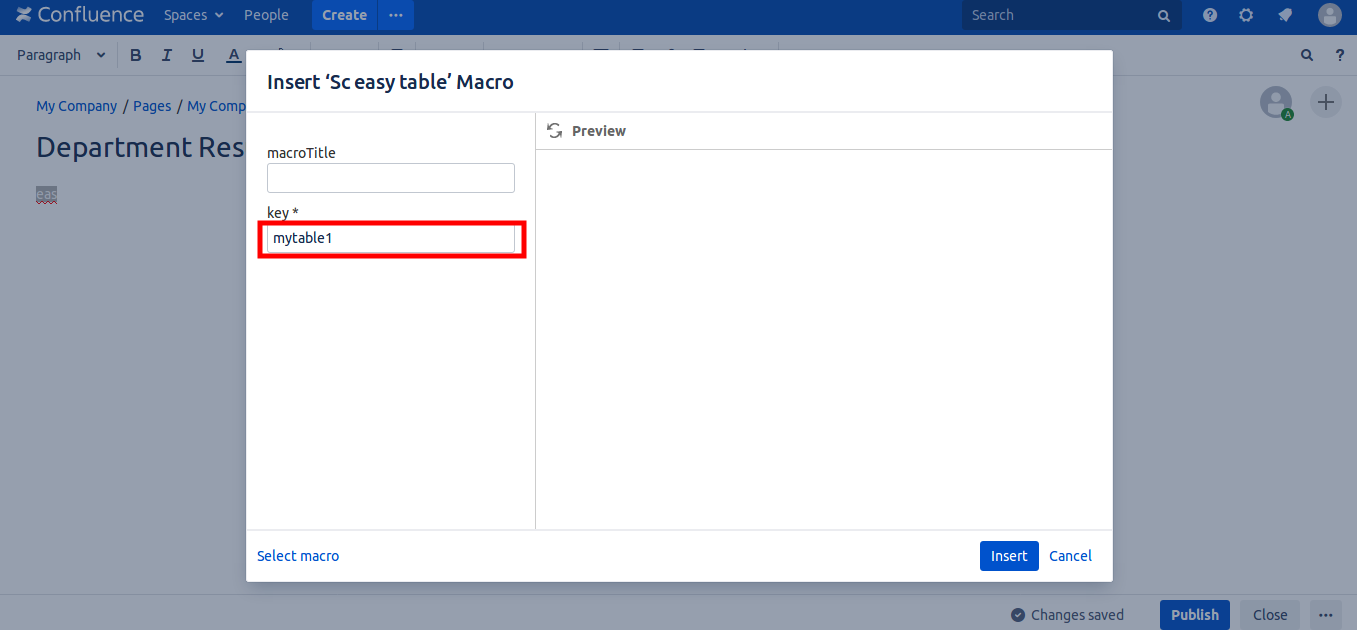
Unique key
Enter a unique key for the table.
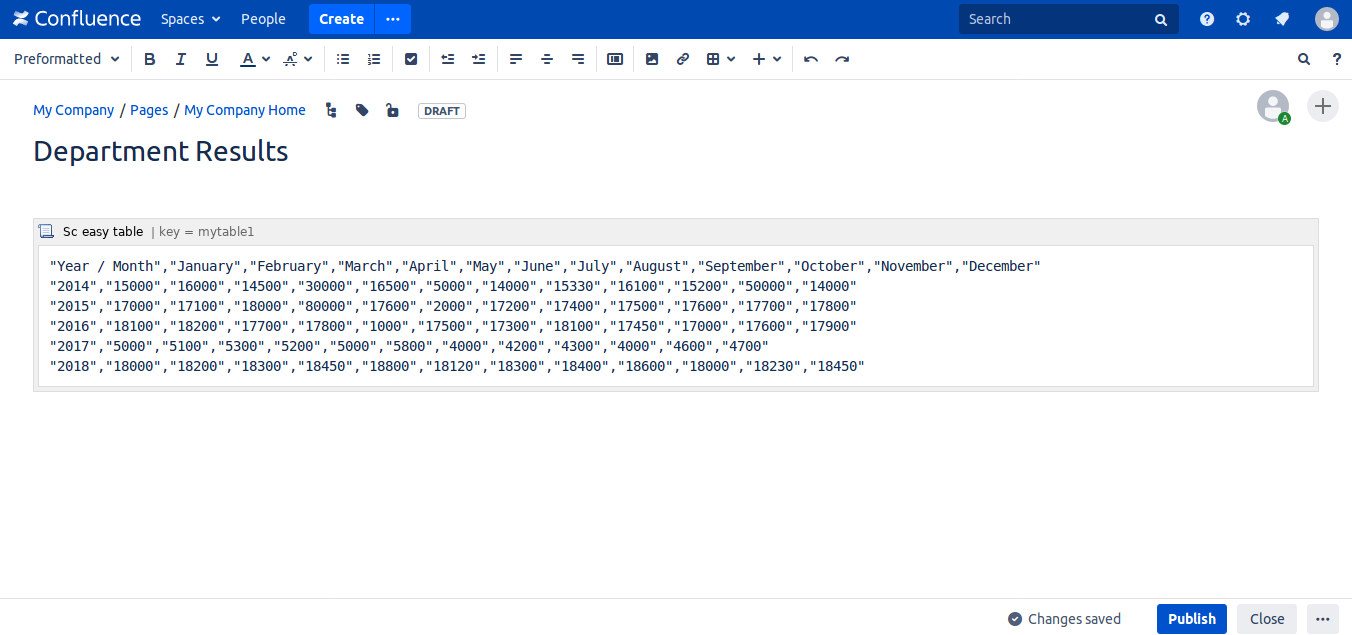
Data
Add data from excel or csv, in this example data is the results of a Department. Please, note that the data used in this example : Here the data sample or add data without quotes like this Sample without quotes
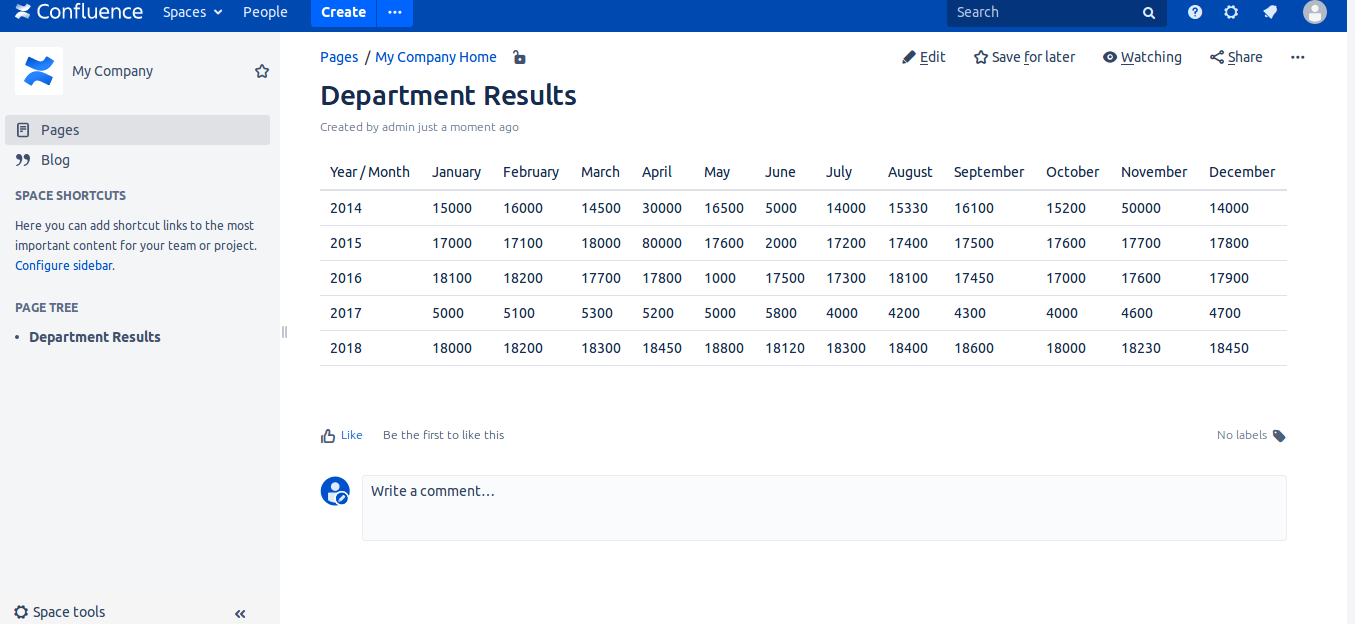
Table
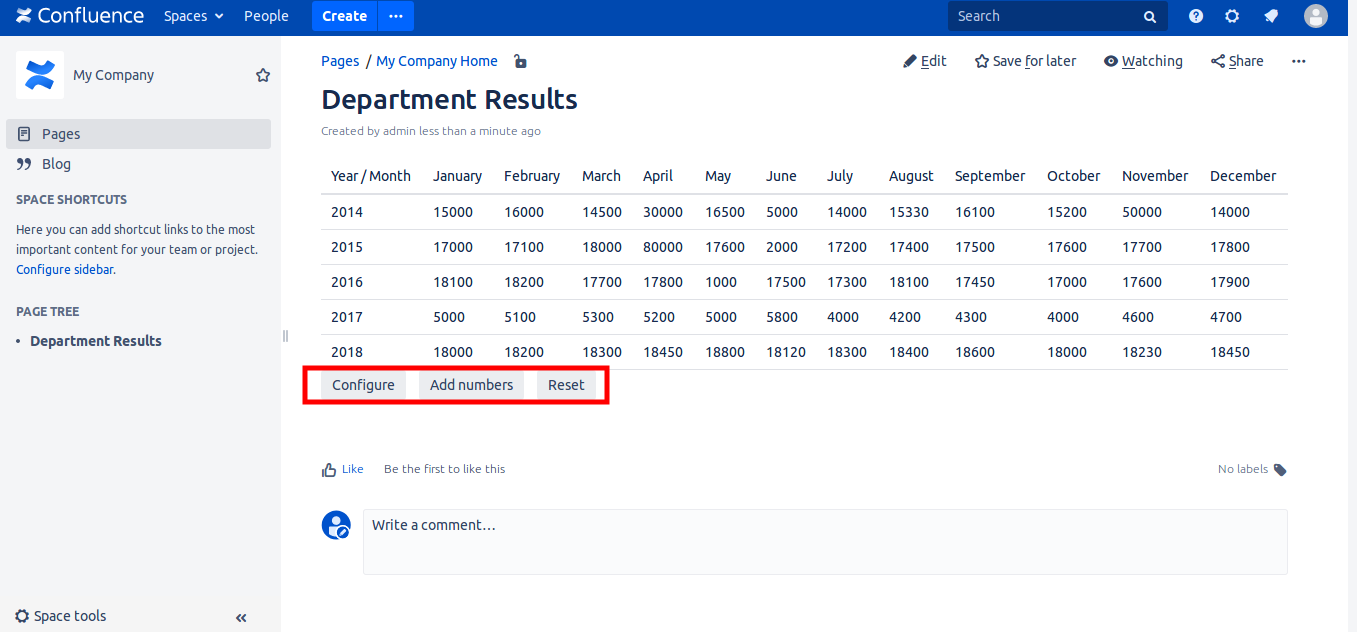
Click publish : the table is generated.
Configure Styles
Refresh the page, and move mouse in left bottom corner of the table, 3 buttons will appear.
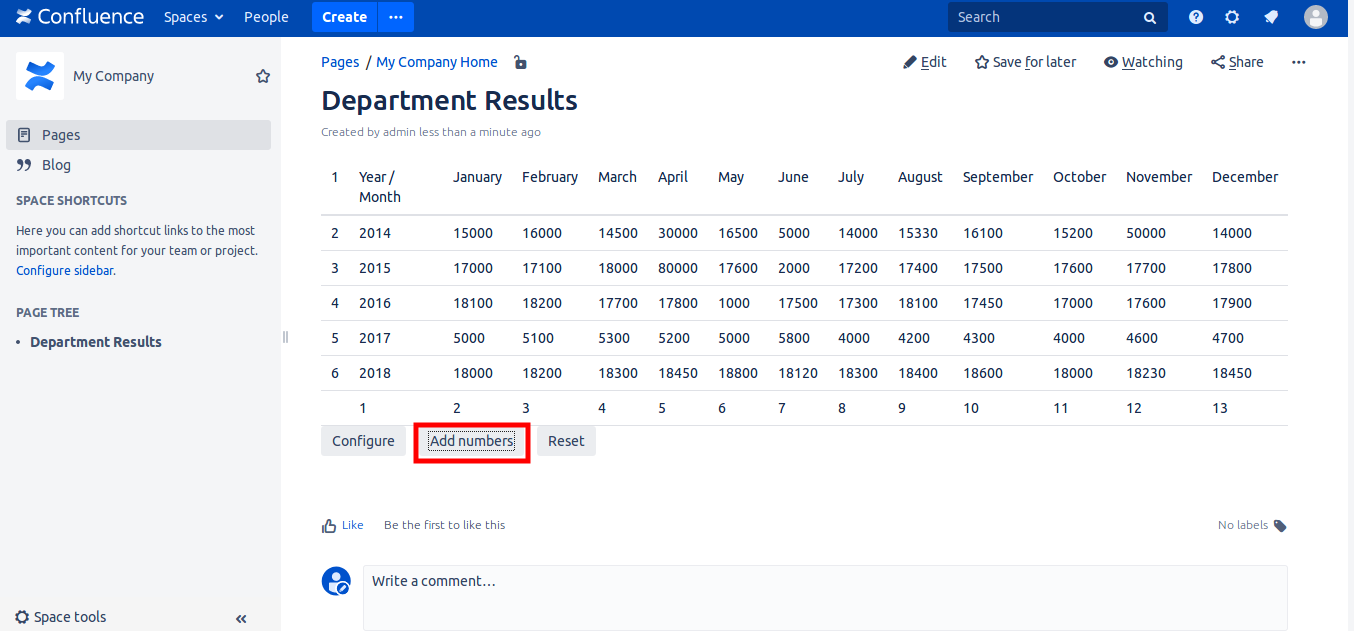
Add numbers
By clicking the button, 'Add Numbers' the app will add numbers, so you can easily find line and column of any cell you want to color.
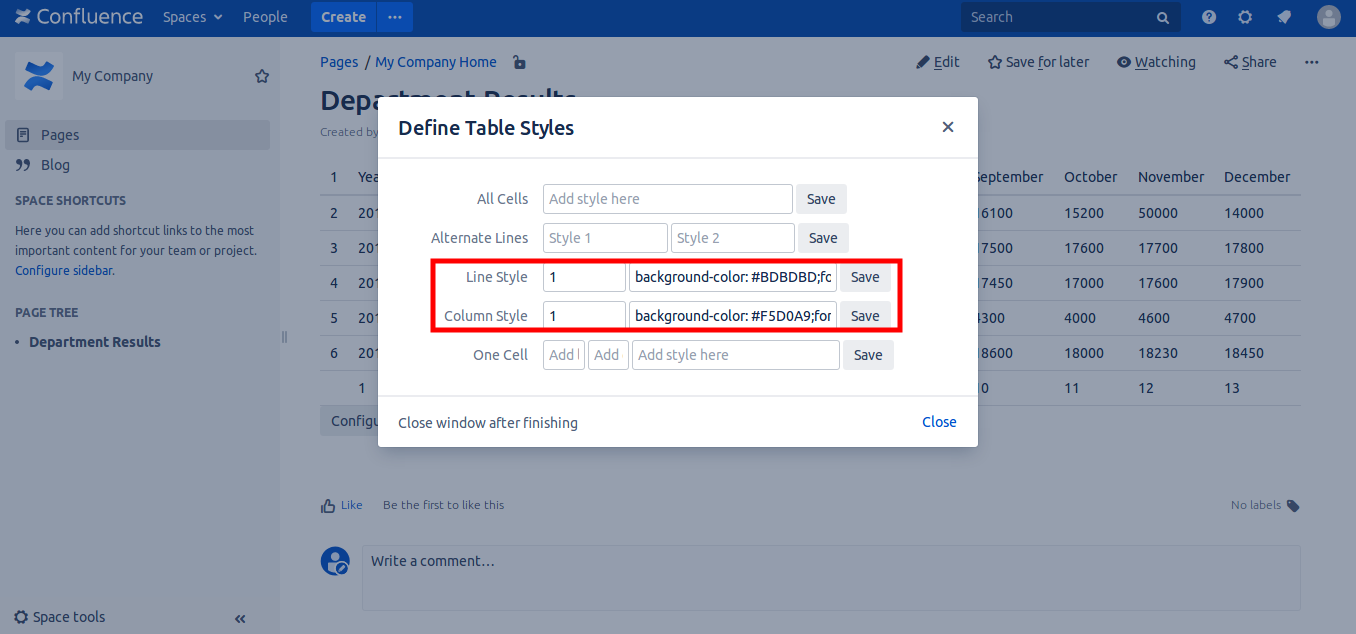
Configure first line and column
Configure first line with gray color and first column with orange color. Click save on every line you modified and, in the end, click close. For the line : background-color: #BDBDBD;font-weight: bold; and for the column : background-color: #F5D0A9;font-weight: bold;
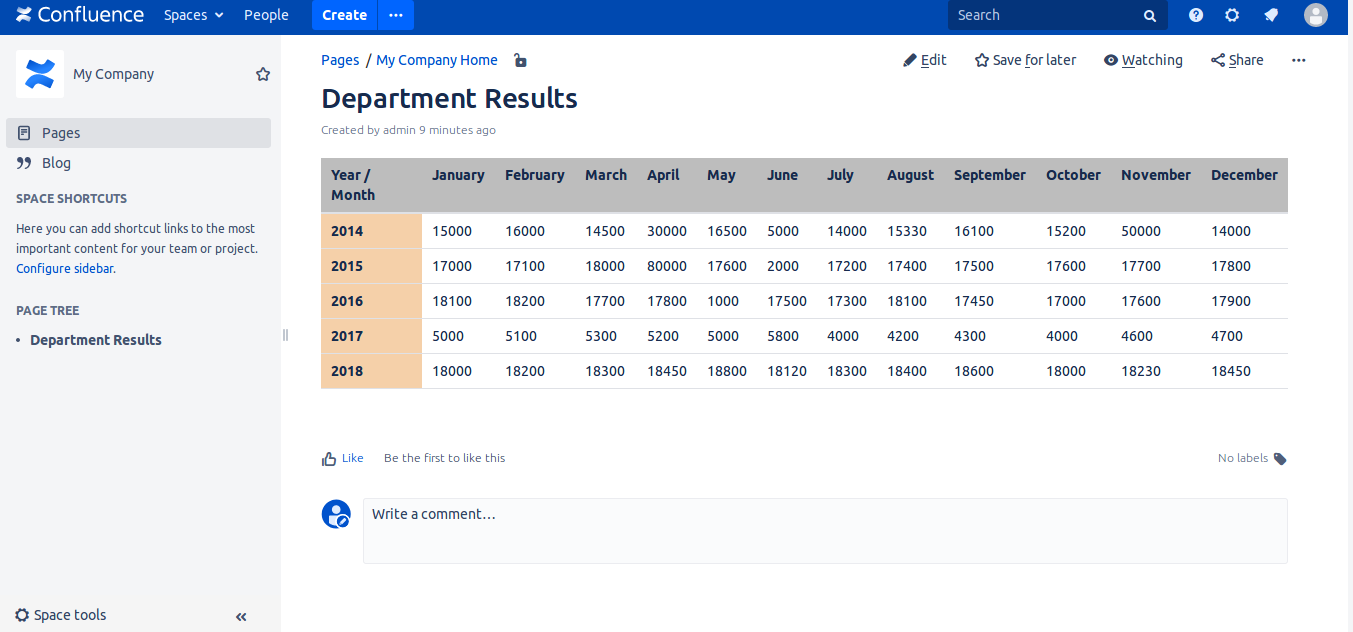
The modified table appear
New colors appear. To get color codes, you can visit websites like : html-color-codes.info
and to define other styles, like text color, size, bold or not, etc you can search for : css styles, you can add multiples styles by separating them with ;
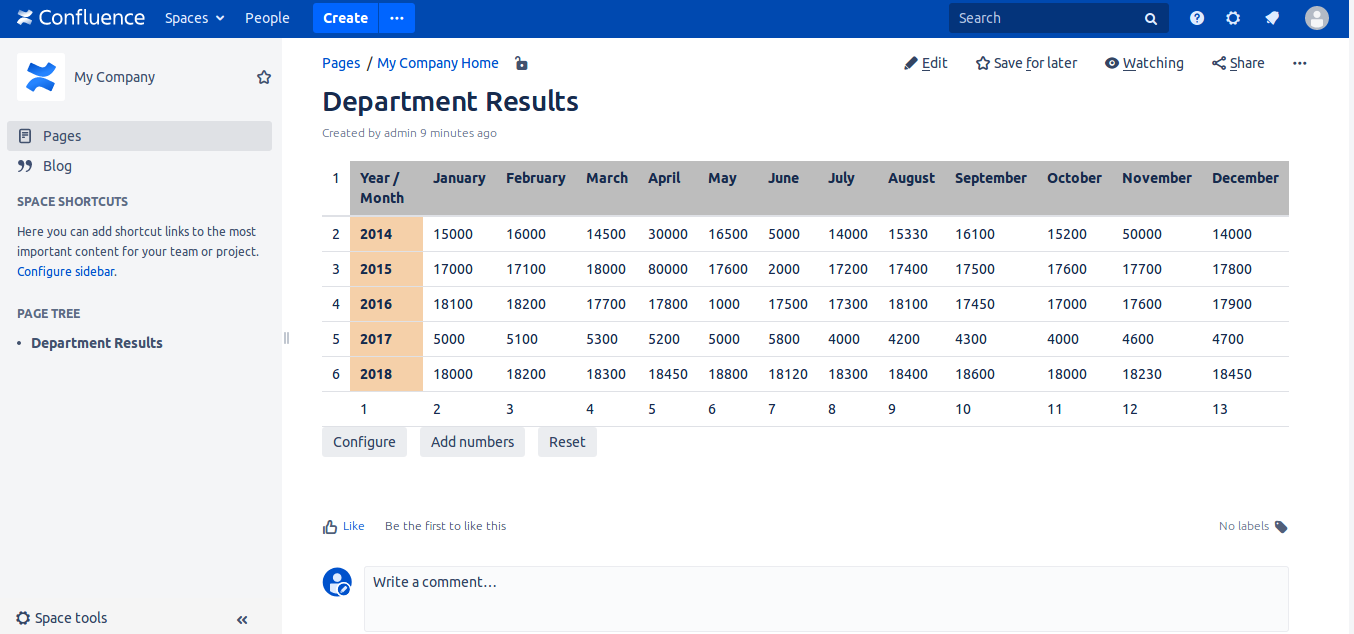
Show numbers
Show numbers again to find cell you want to color.
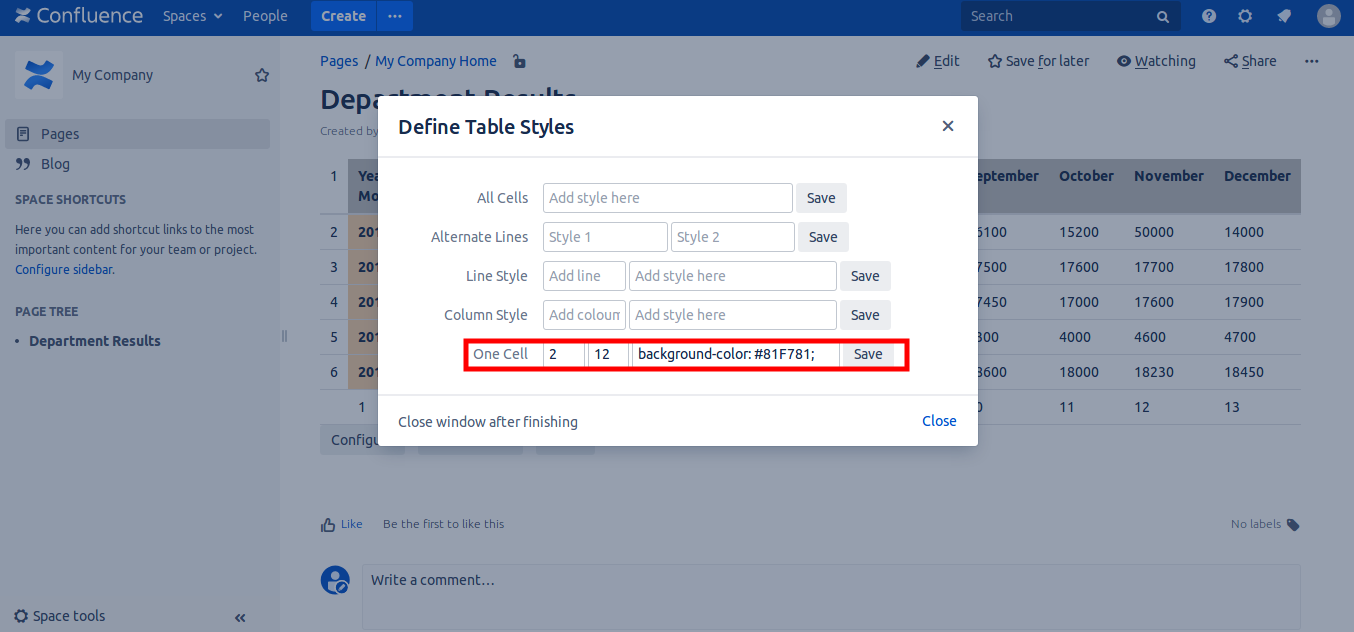
Green color for a cell
Cell 2, 12 will have green background to show the good result in this date. Please note that if you want to remove the style entered for cell 2, 12, just type 2 and 12, and let 3rd input empty, and click save. This will remove the color for the cell. The same for lines, columns, etc.
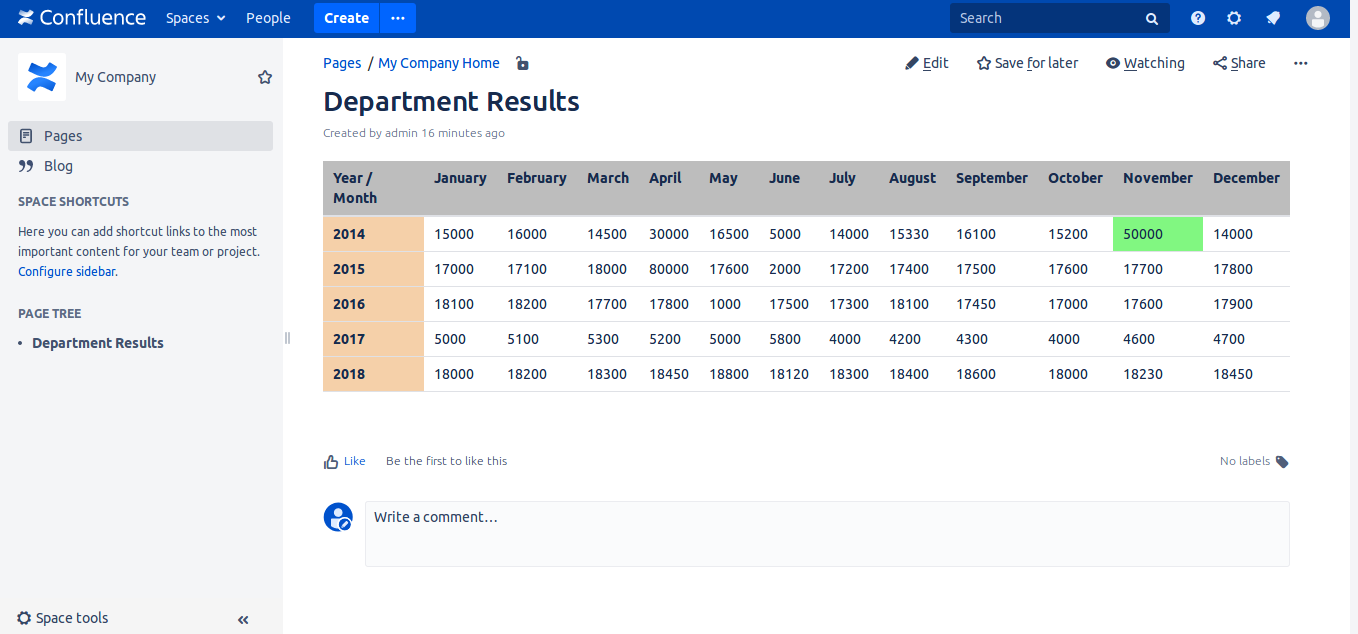
Cell is colored
Cell is colored. Used style : background-color: #81F781;
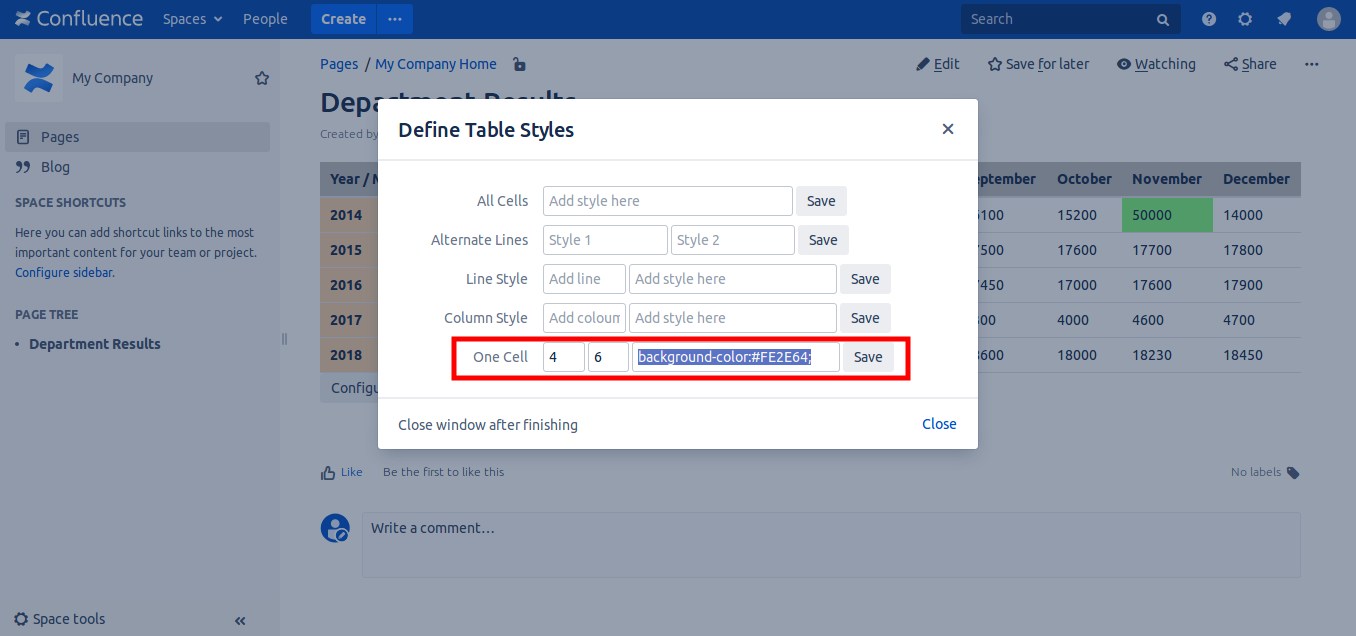
Color a bad result
4,6 will be colored with red color
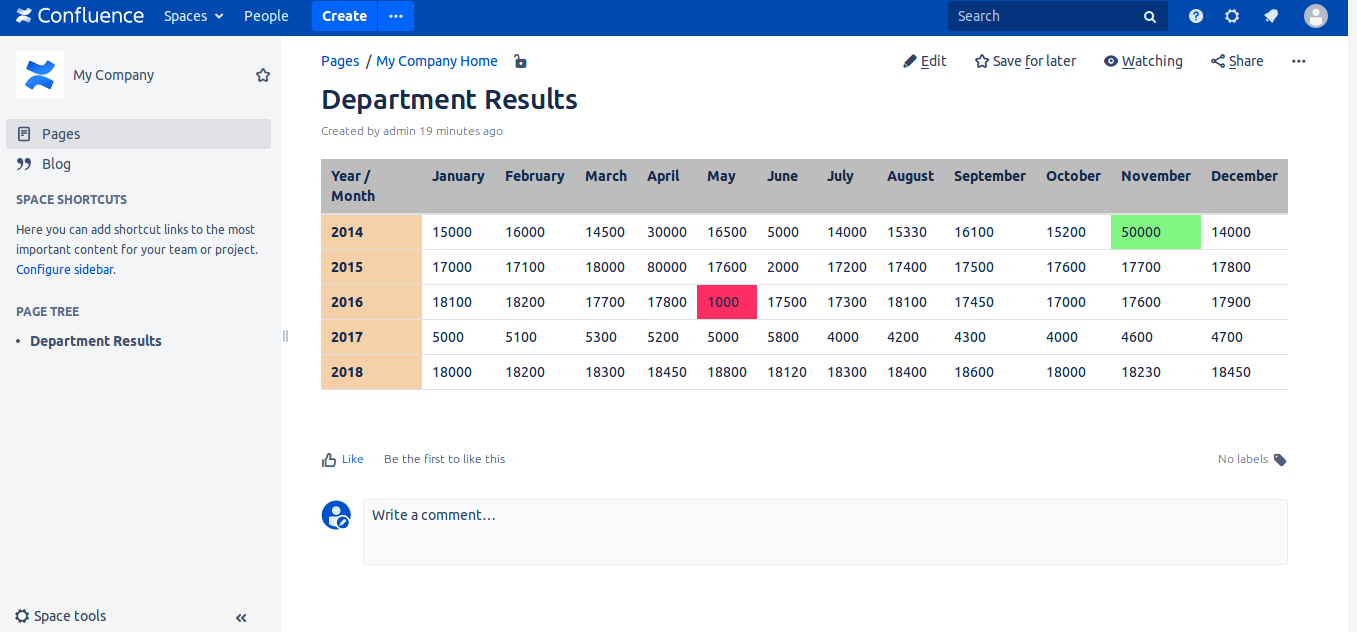
Cell is red
Cell is red. Used style : background-color:#FE2E64;
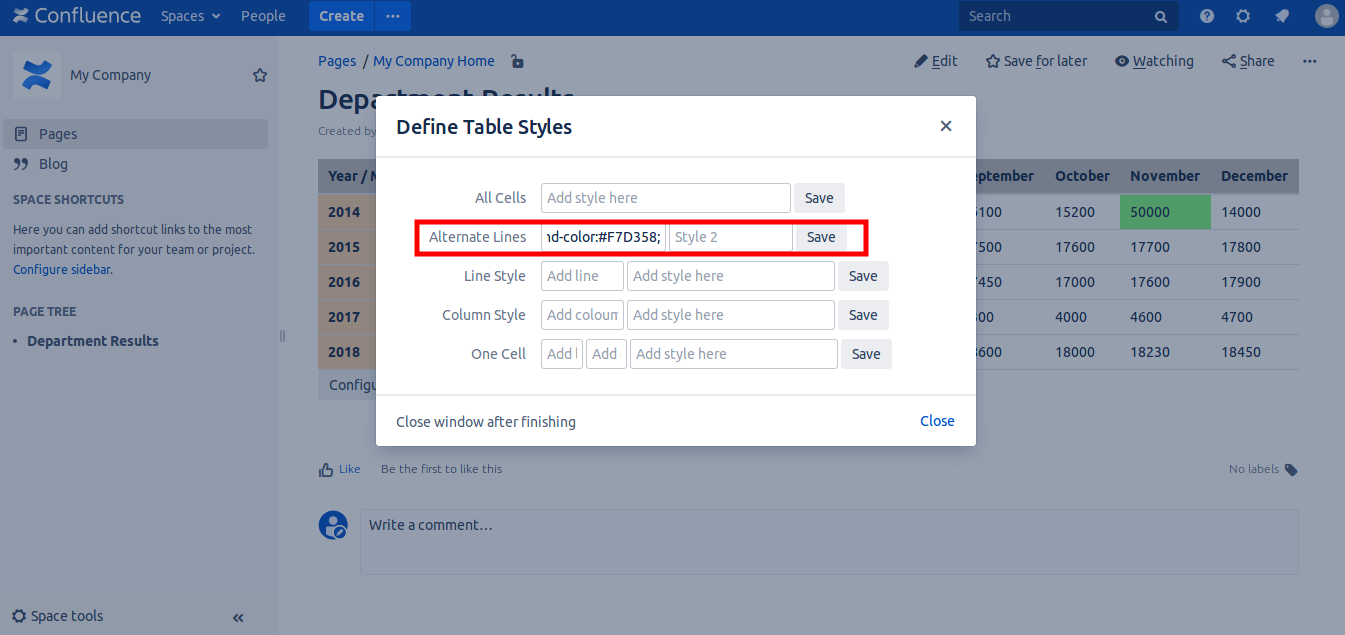
Alternate colors for lines
Lines will be orange and white
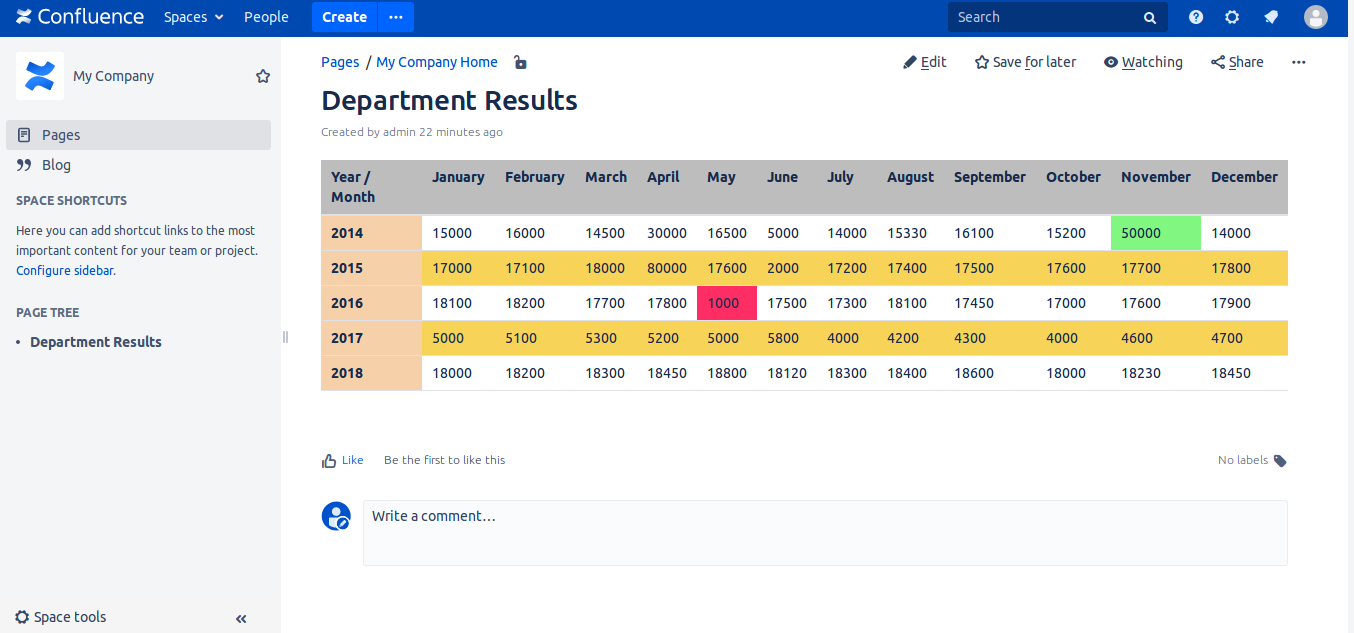
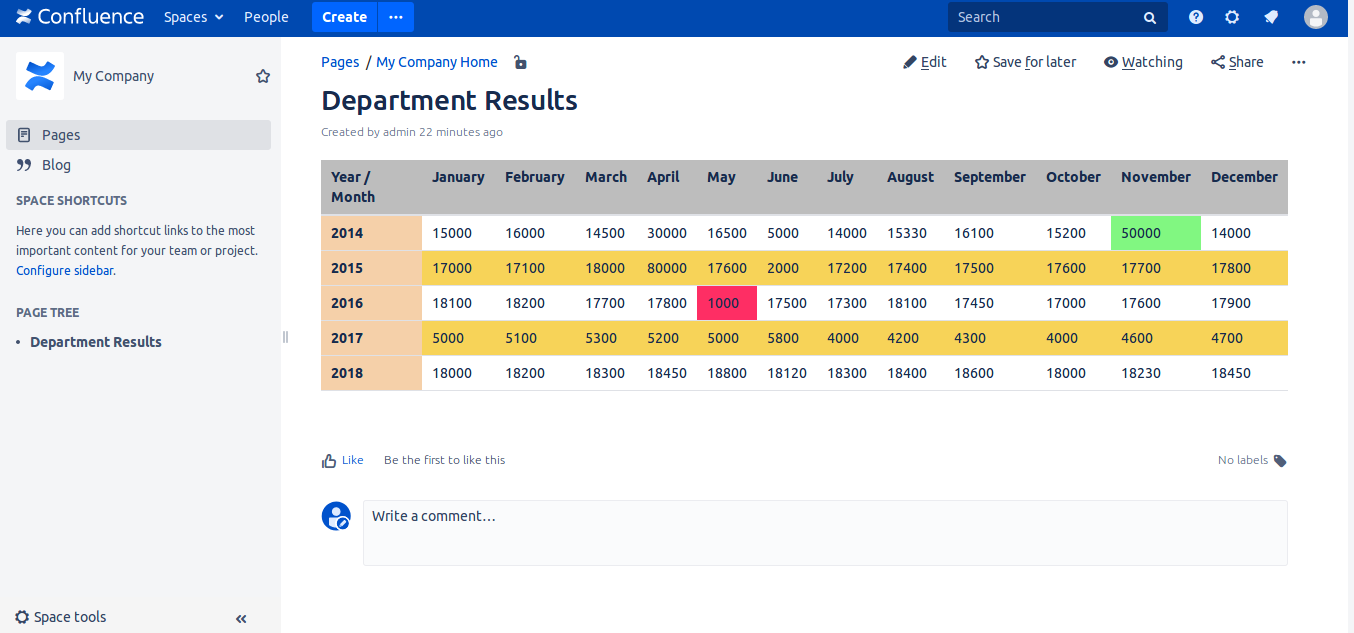
Colors appear alternated
Lines are colored. Used style : background-color:#F7D358;
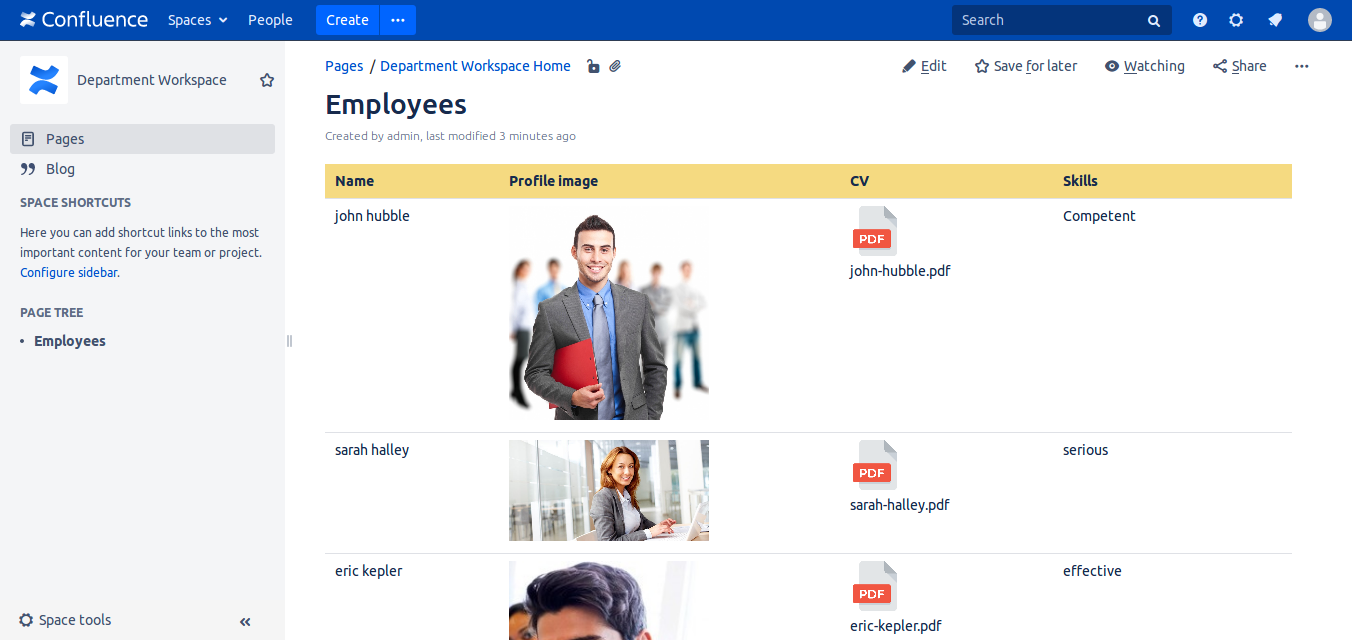
Add images and file links easily
Let's say you have your employees names, and their photos in different sizes, CVs. You can add them one by one manually or automate the process.
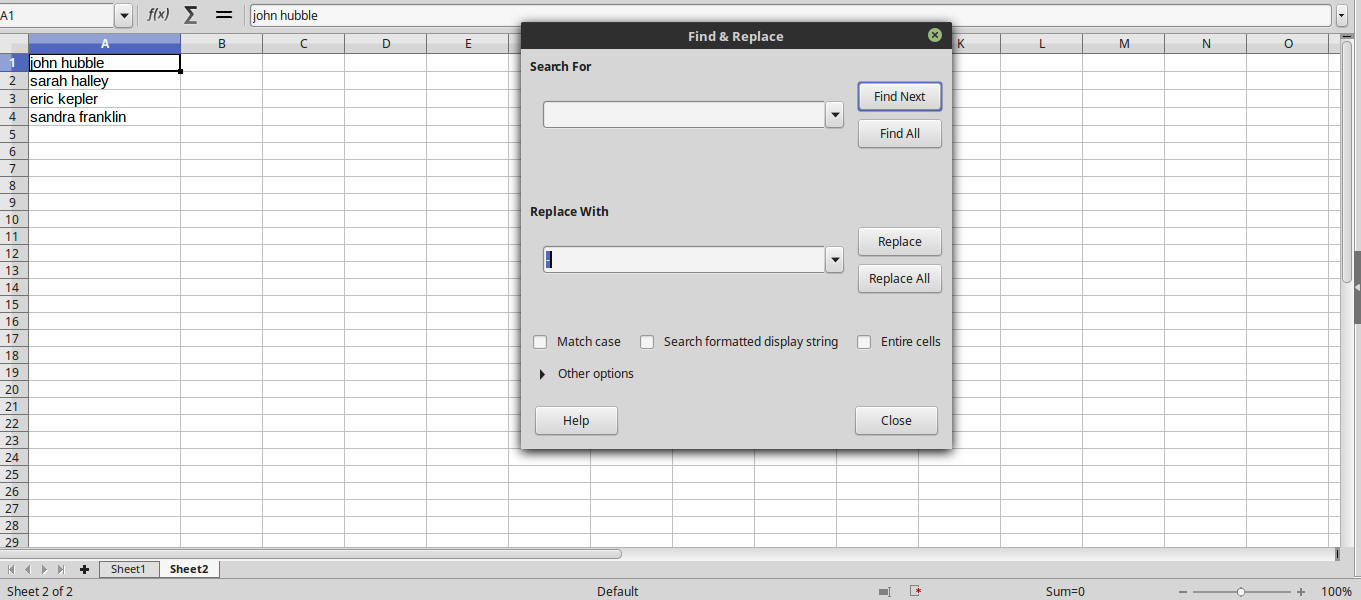
Use excel or LibreOffice
Let say that we have images and files with thoses format. name1-name2.png or .pdf. Add the list of names in Excel.
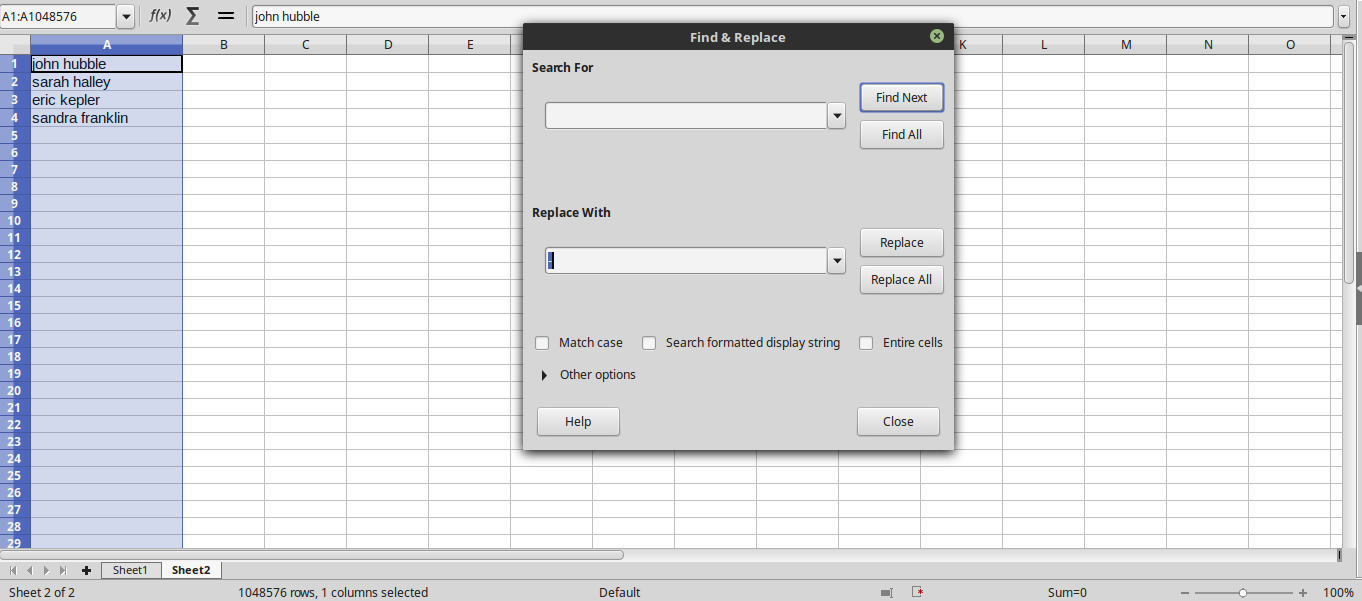
Replace spaces
Replace spaces with '-'
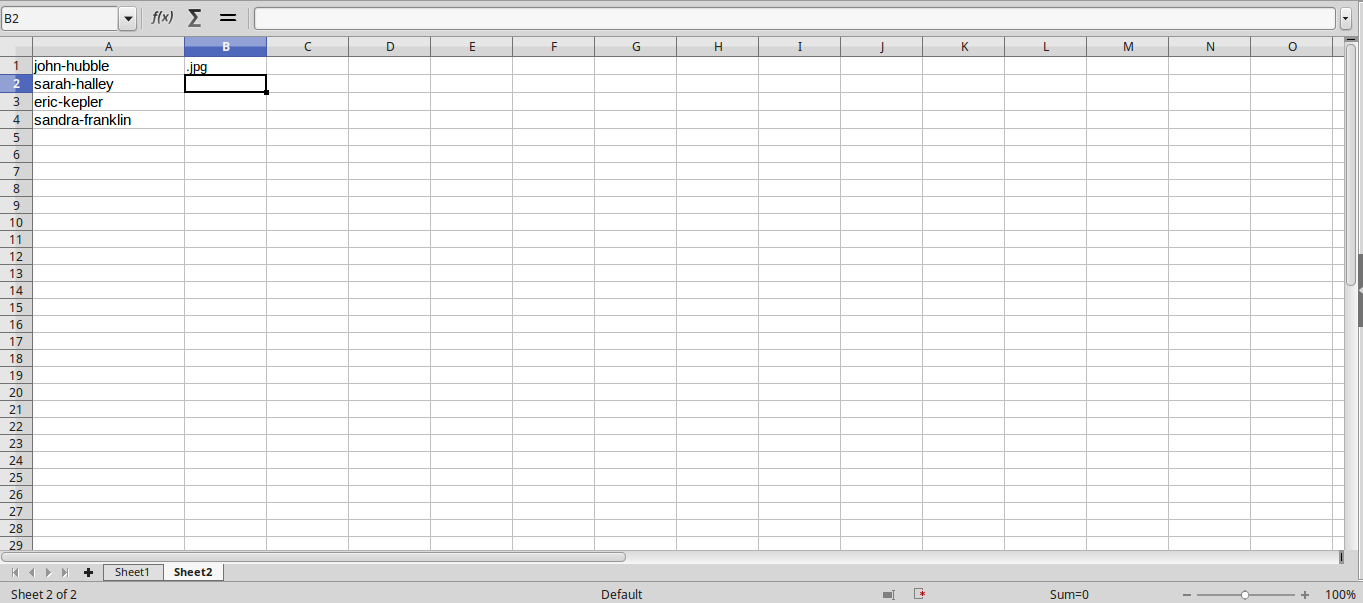
Add the image file extension
In our case, it is .jpg
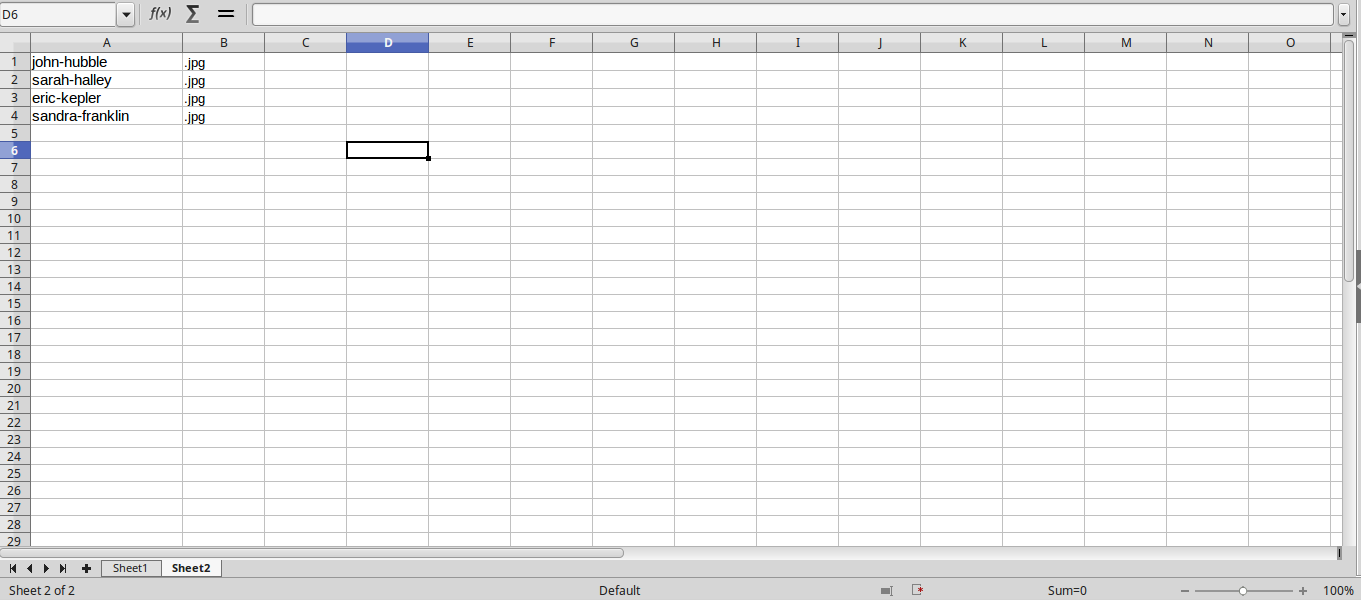
Do it for all column
By putting mouse in right bottom of the cell '.jpg', and keeping mouse clicked, move mouse down to have all column with .jpg value
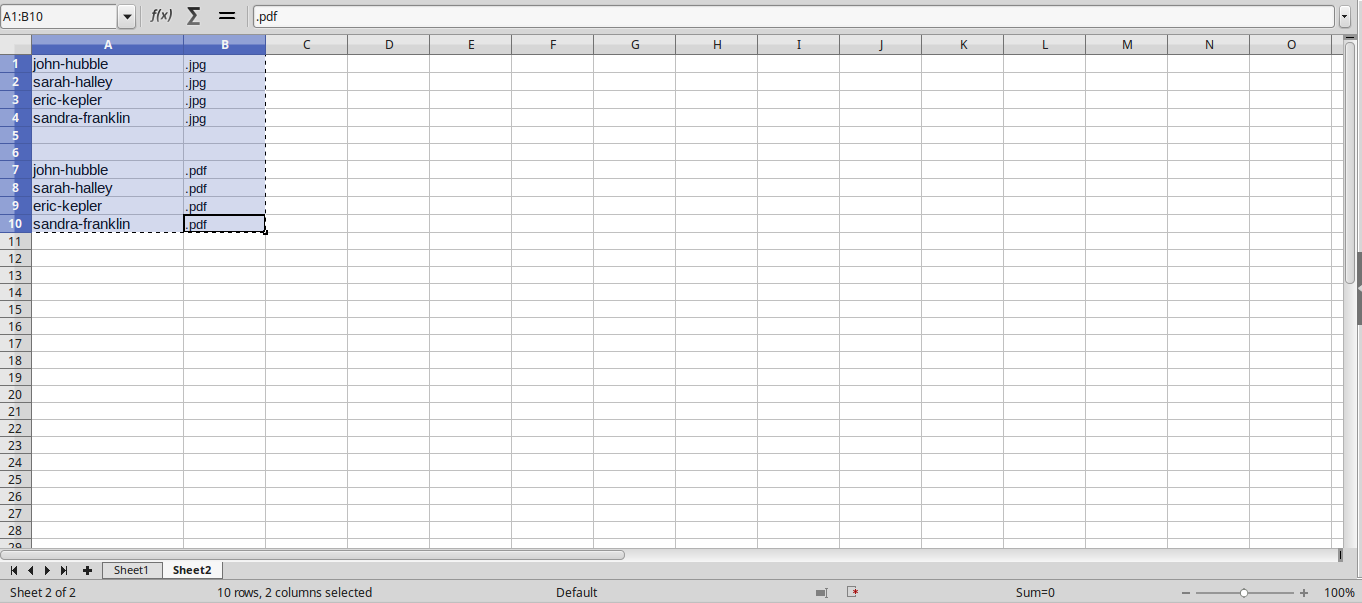
Copy names to have pdf files
Do the same to have .pdf in all column section
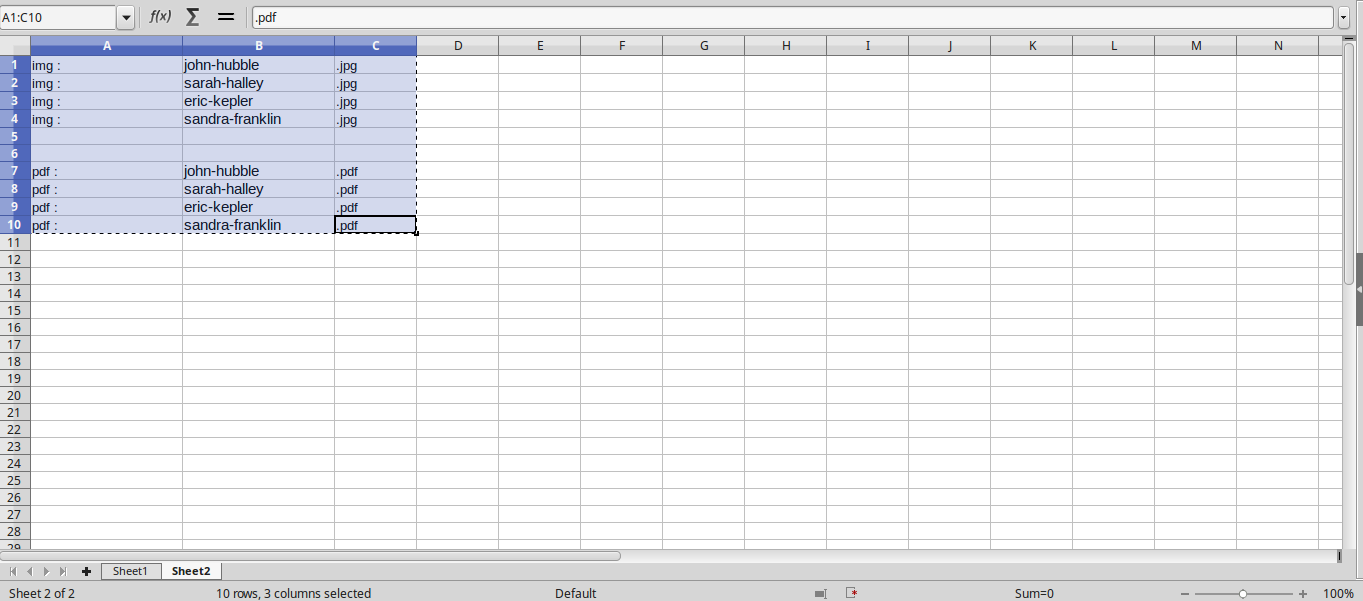
Copy the cells
Select and copy
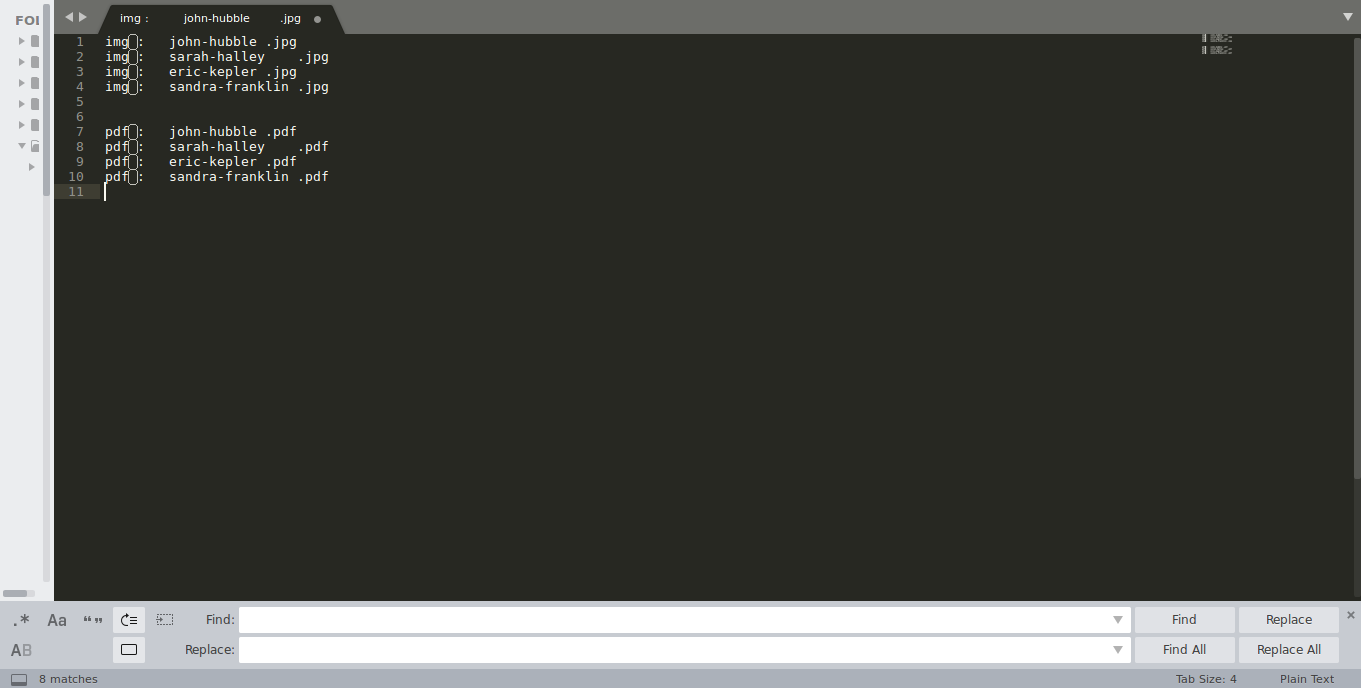
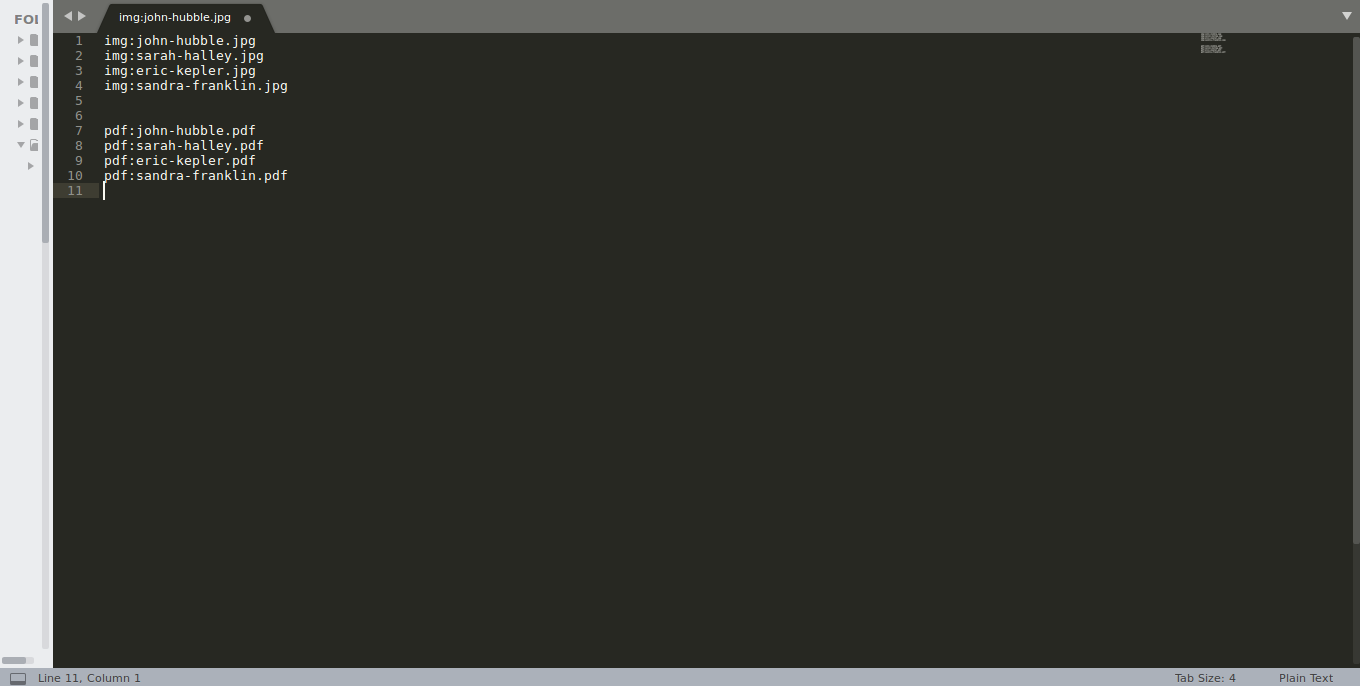
Paste in text editor
Select the spaces, and replace them by nothing. In order to have images and files names well written.
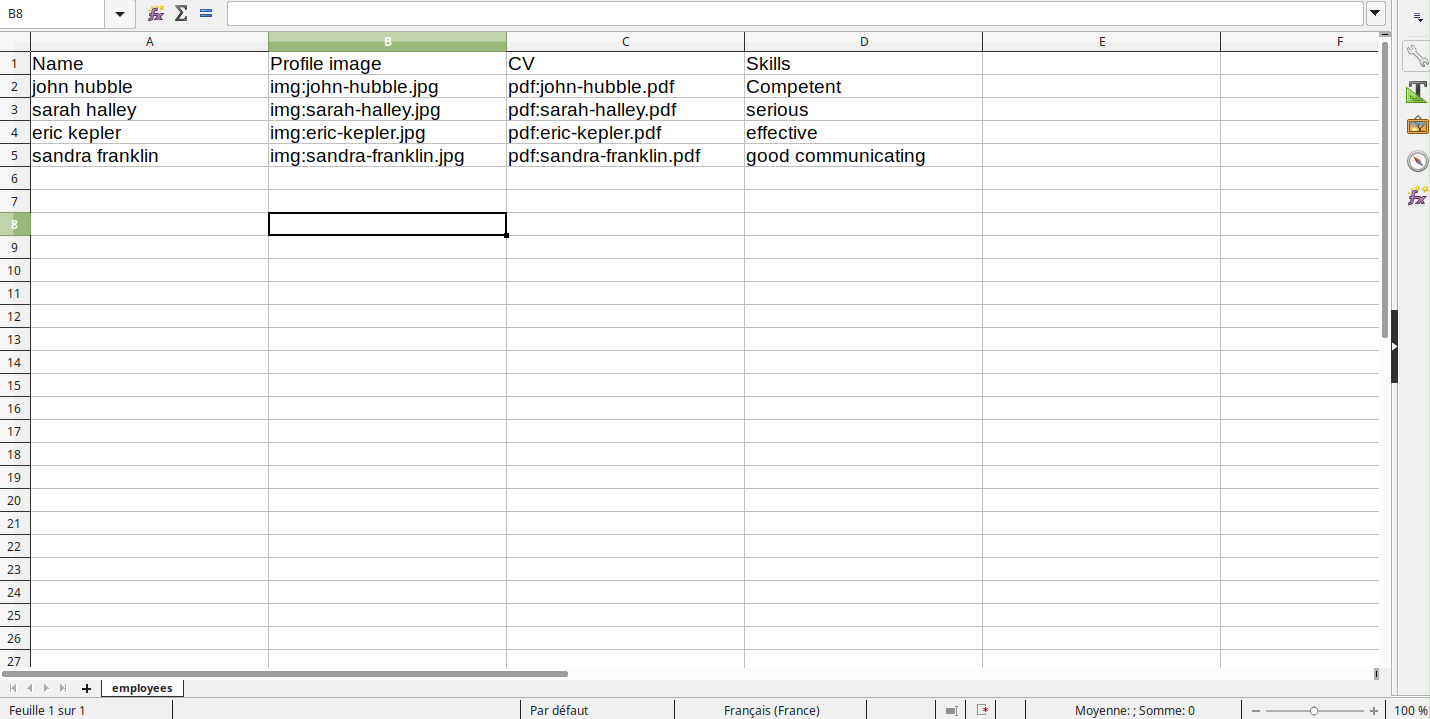
Add them in the right excel column
Note that you can add images and files from other websites, just type img:http://my-website/my-image.png or for files like this pdf example : pdf:http://my-website/my-file.pdf&&title of the file
For files, default prefix is file: but you can show specific icons using doc: or docx: or pdf: or xls: or xlsx: or ppt: or pptx:
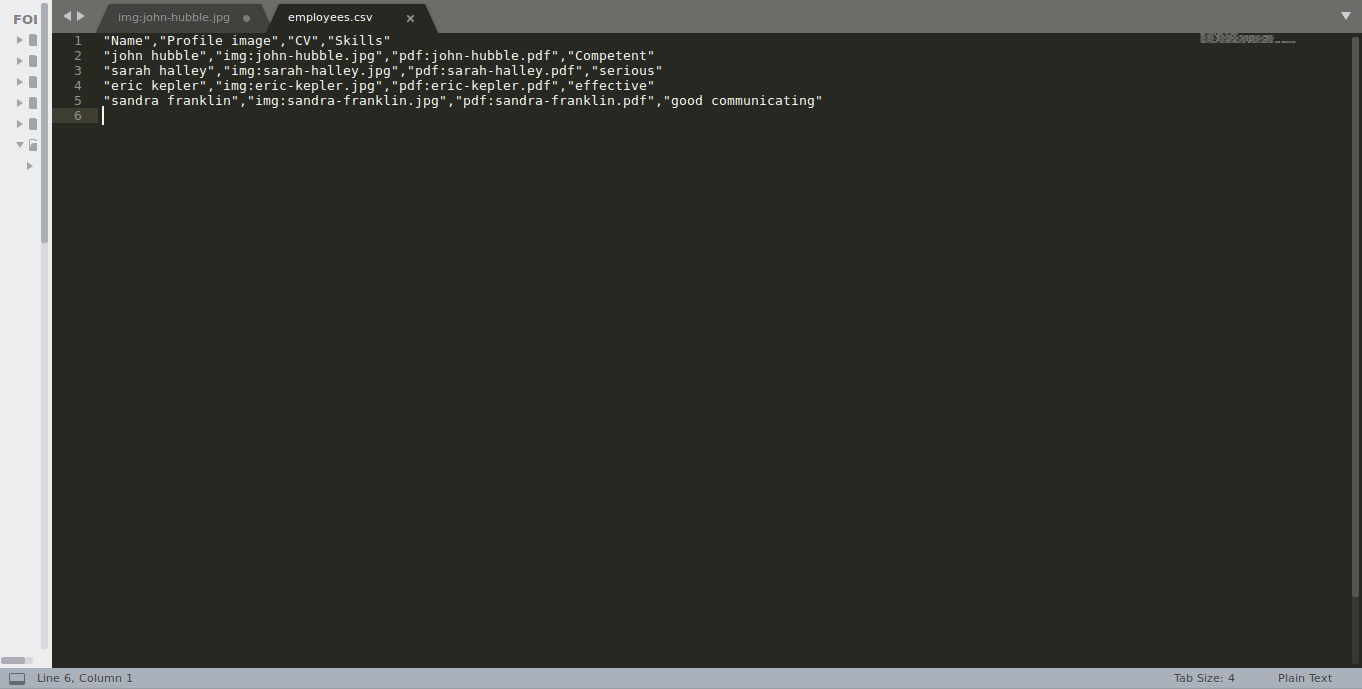
Save excel file as csv
Open this csv file with a text editor
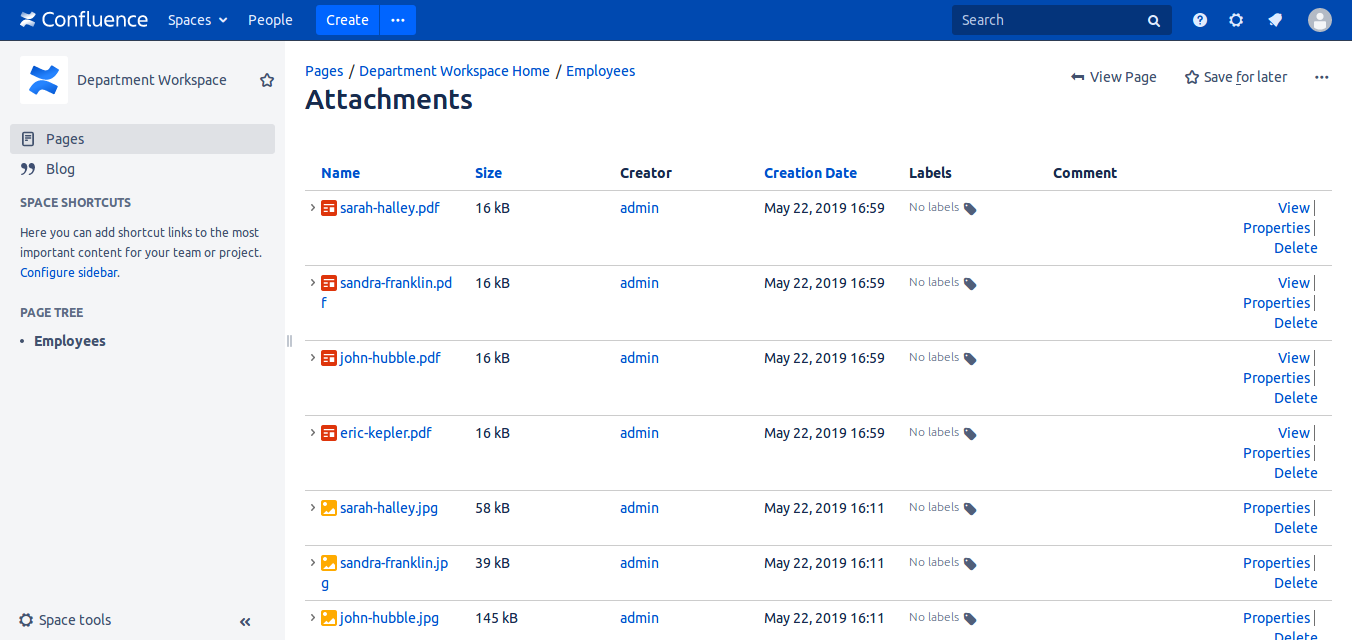
Upload the images and files you have
They can be uploaded to the same page or another page. In our case, it is the same page. If you decide to have files in another page, just type 'img:resource page name/image file name' in excel page (previous step)
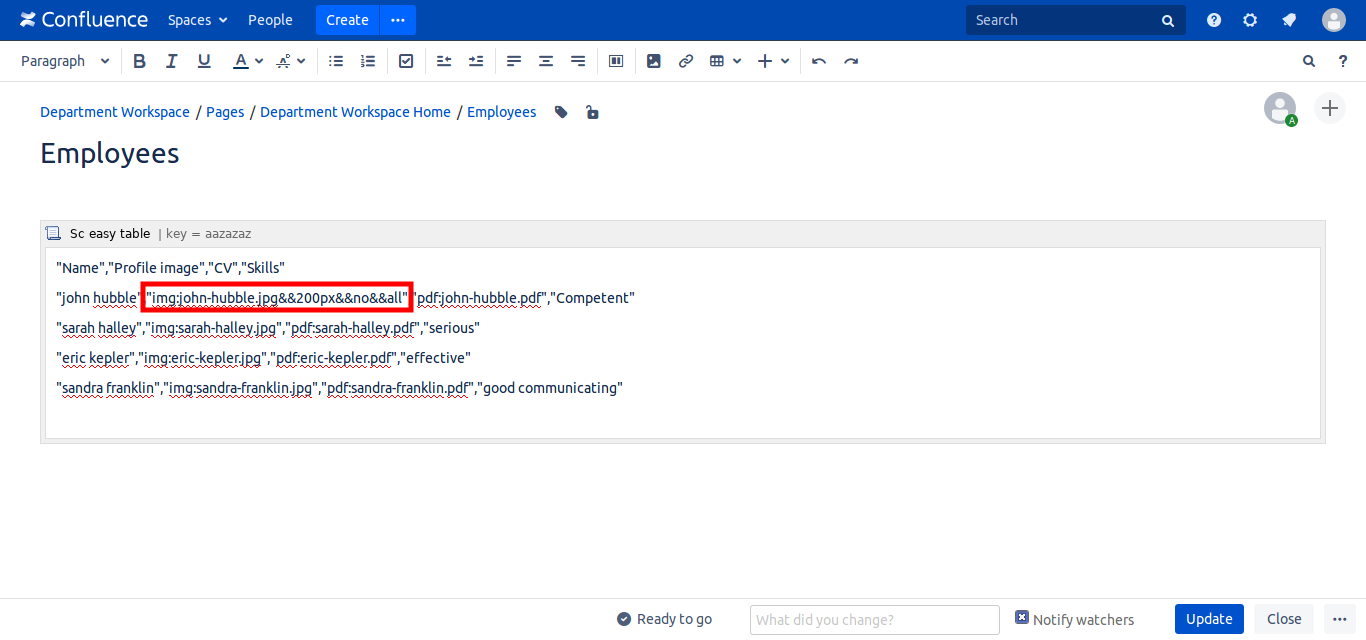
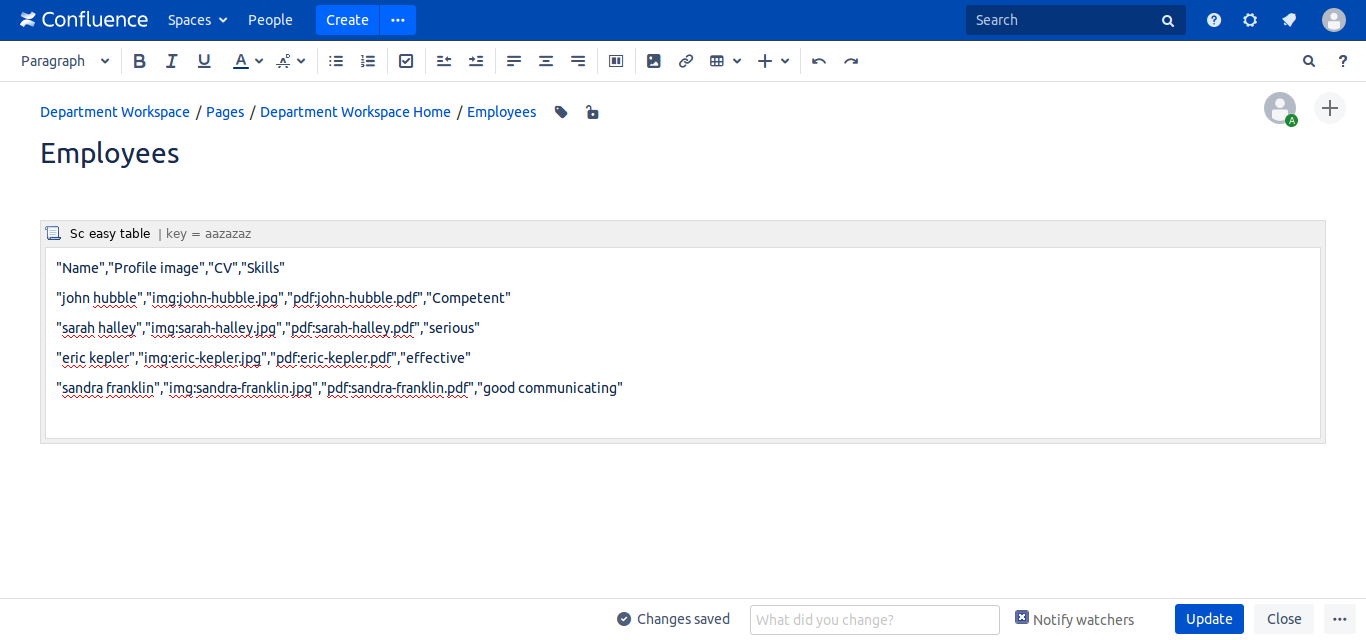
Paste in macro
Click on edit page, and add text to the macro. Note that if you want to have a fixed width for all images, add in the first line of the column : &&width&&no&&all for example &&200px&&no&&all if you want to specify the height 100px add &&200px&&100px&&all
Instead of px you can use %.
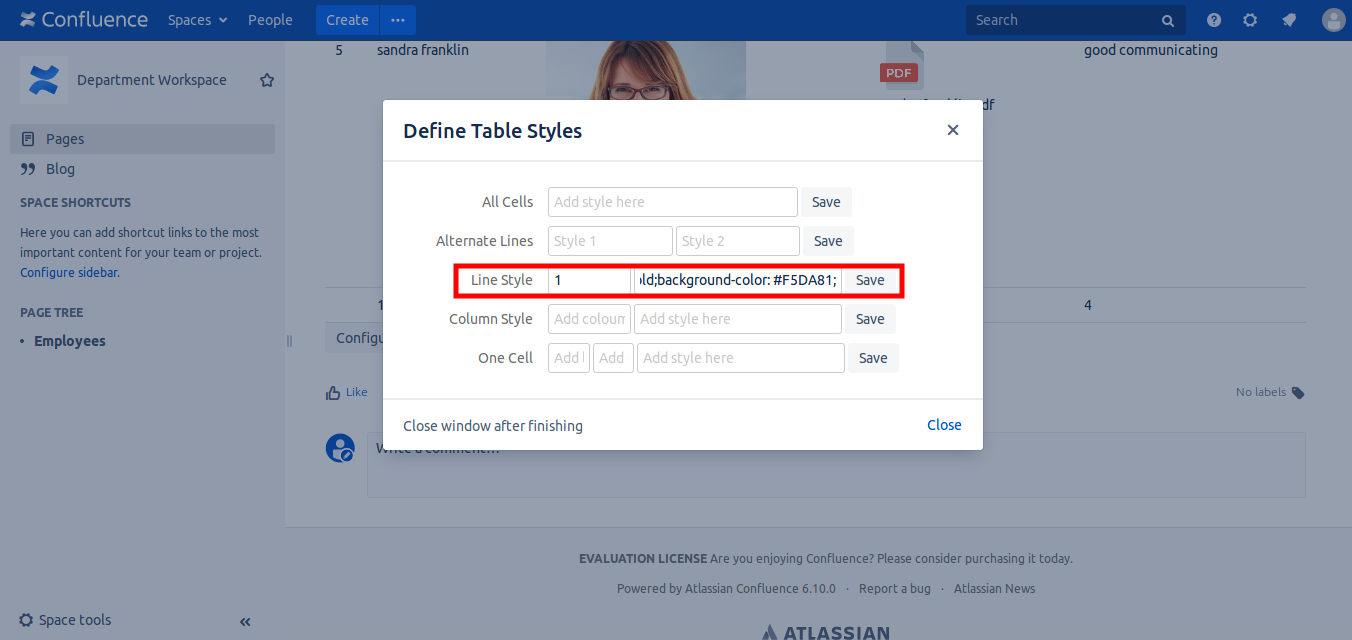
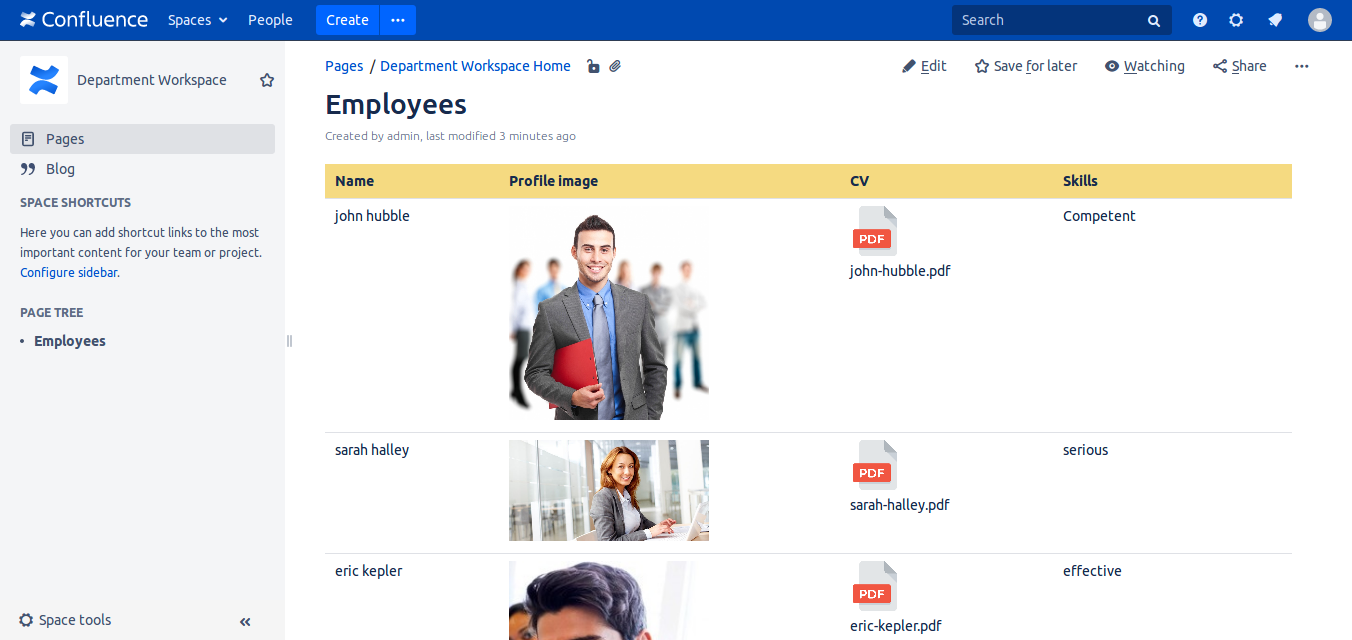
The table with images appear.
Add styles, as explained previously.
